
SPONDON-JOTA BUILD DETAILS
This build took place between about May 2001 and March 2002. As soon as new owner Richard received the bike it was pretty clear it would benefit from a bit of work to tidy up the details and change the look a bit.
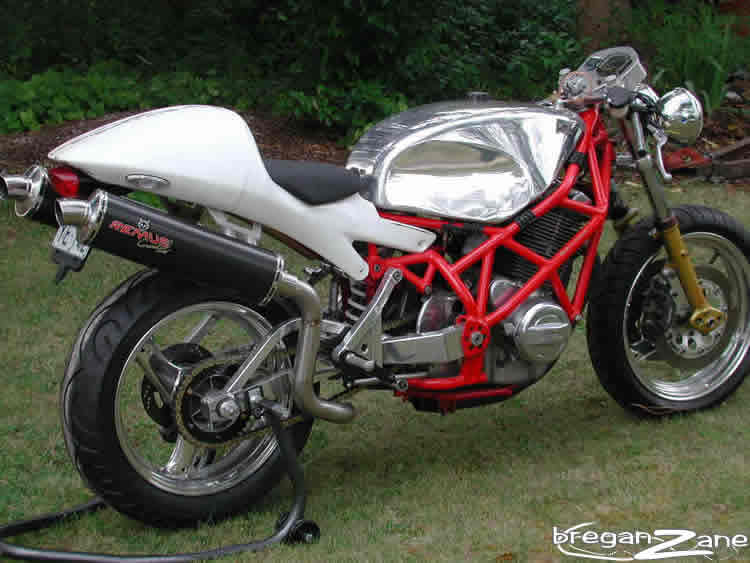
Richard settled on some wider 17" wheels, an Aprilia RS250 ducktail, big carbon high pipes and twin headlights for that "Italian Speed Triple look". My task was to put it all together and make it look like it was meant to be there.
 |
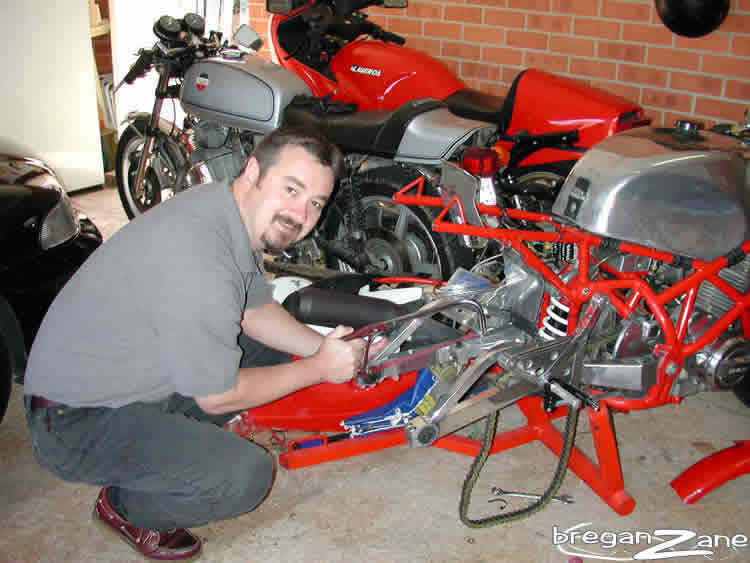
Some of the parts procured and starting to work out what needs to be sacrificed. It took a while to convince Richard that various parts of his newly purchased unobtainium bike would have to be cut into small pieces in order to achieve the required result... |
 |
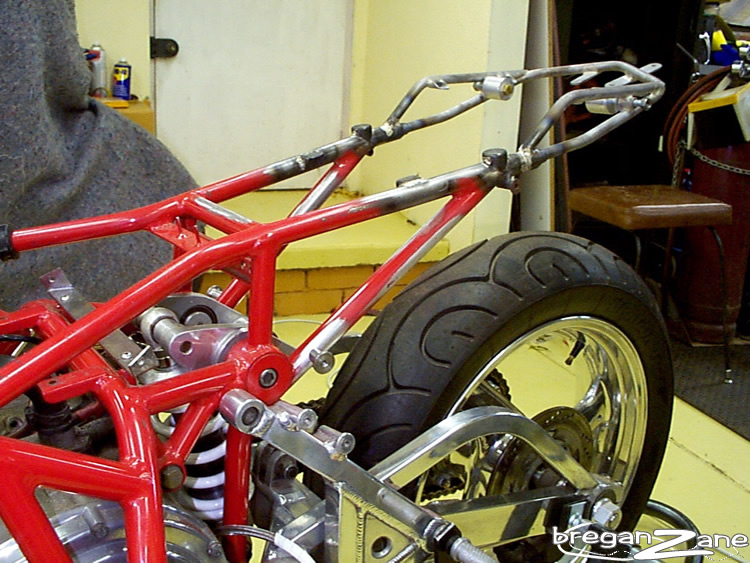
First step along the way, getting rid of the dreadful Laverda-style brake carrier loop in the swingarm in order to make room for larger wheels. A tag would be added to the frame later for a floating rear caliper arrangement. |
 |
Measuring up the wheels to work out the required spacers and offsets etc. |
 |
A bit of quality time on the milling machine, this is a spacer to get the sprocket in line. |
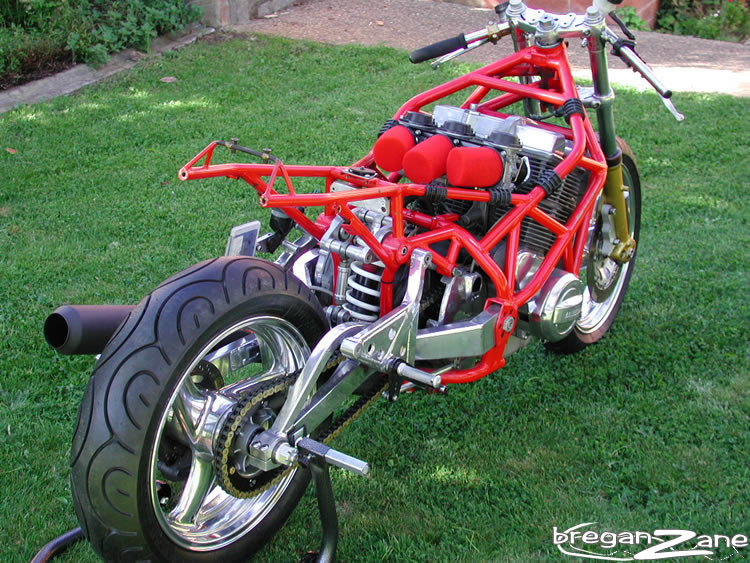 |
Back on two wheels. The Spondon is looking much more purposeful on its new 17" rims... |
 |
Neat headlight bracket, continuing the style of the triangulated frame. |
 |
It took another couple of months to convince Richard that the back of the frame had to go in order to get the ducktail at the right angle without an unsightly 80's subframe hanging down beneath. A minute later and the way was clear. |
 |
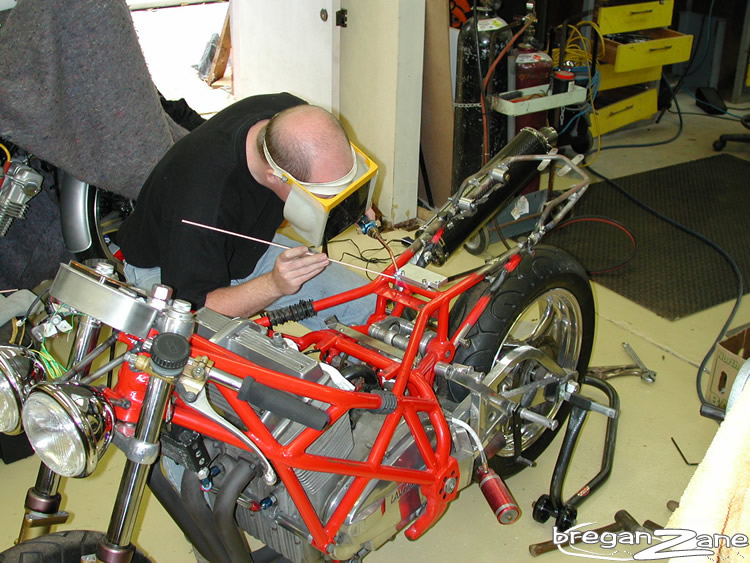
Starting to build up the new subframe, with attachment points for the new ducktail, seat, muffler mounts, battery and electrics trays, etc. |
 |
Spondon frame + angle grinder = fun. |
 |
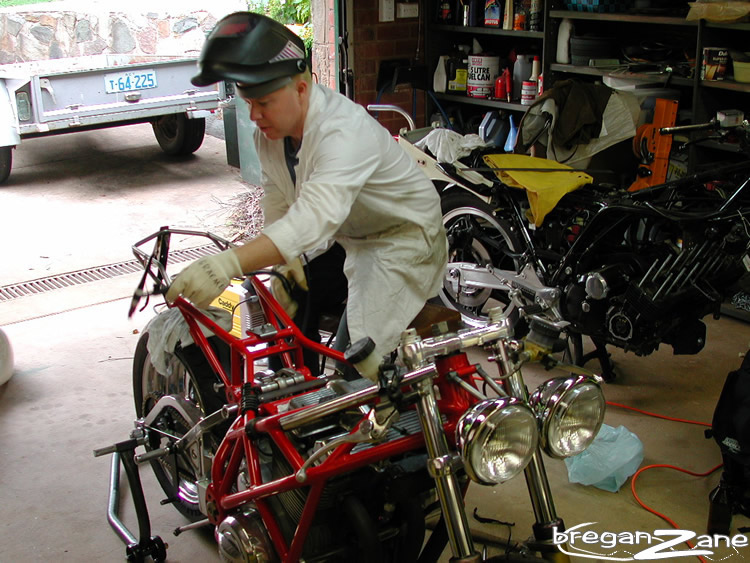
Everything was tacked into position with the TIG, then finally bronze welded as per the way Spondon built the frame itself. I think this was some threaded bungs being added to the frame tube to mount the battery tray. |
 |
The subframe coming together. |
 |
By now we can mount everything up and see how it starts to look. The pipes were purchased as bare cans and here I have started the tubulation to bring the pipes to meet the collector. You'll notice I had to cut yet more Spondon stuff off for these pipes - the pillion peg mounts meeting the same fate as the subframe. |
 |
Hanging tough. |
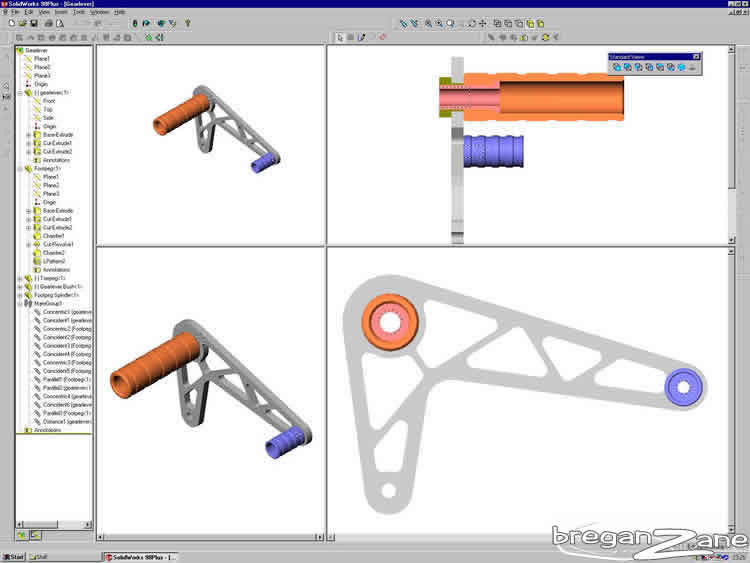 |
Once all the nice stuff started to be added the old Spondon ones looked pretty dodgy, here are new ones on the drawing board. |
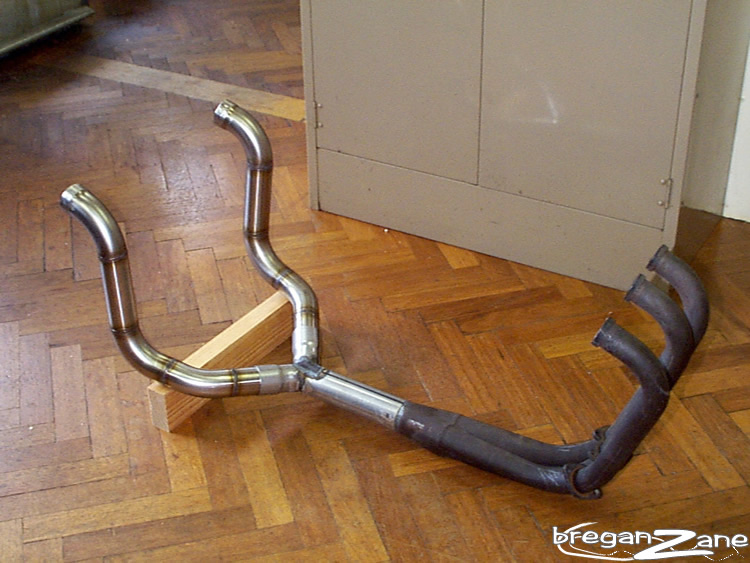 |
Completed exhaust system. Front half went off for black ceramic coating while the rear section was polished. |
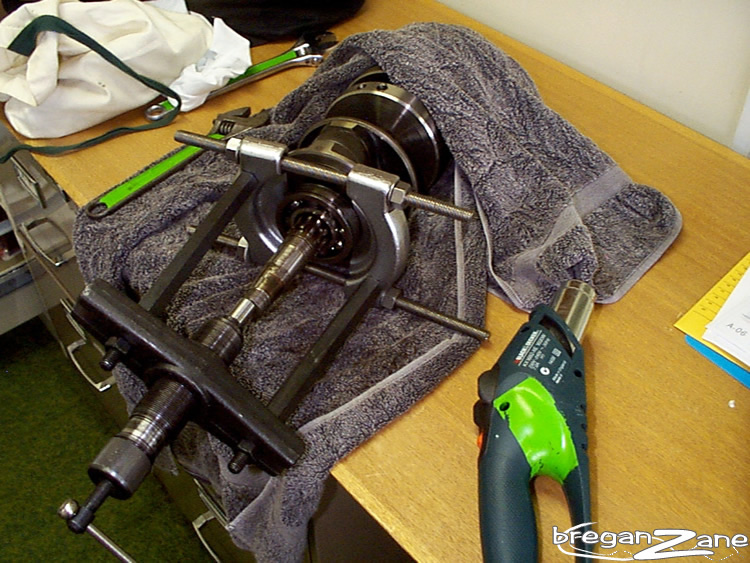 |
We took the engine apart and found a dud main bearing, the crank seemed straight enough, so it was just a matter of changing this bearing. |
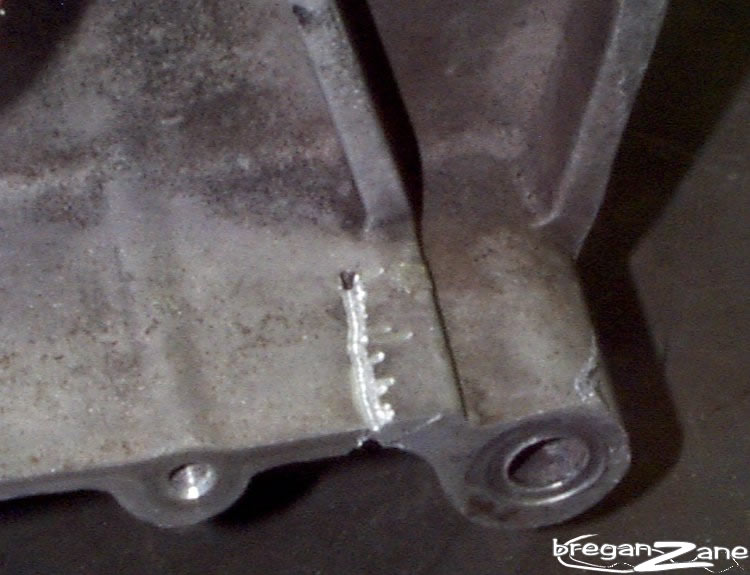 |
The rear engine mount was broken due to the poor way in which the engine is supported at the front in this version of the Spondon frame. The crack was repaired and a light but stiff aluminium front engine mount was made up to support the engine properly. |
